项目介绍
- IPV6的介绍
- Squid的介绍
Squid是一款开源的代理服务器软件,遵循GNU通用公共许可证(GPL)。它支持Web代理缓存,可以缓存远程网站的内容,从而提高内部网络访问外部资源的速度
准备工具
| 需要的工具 | 推荐区 |
|---|---|
| 纯IPV6服务器(不含v4) | 推荐商家:腾讯云 |
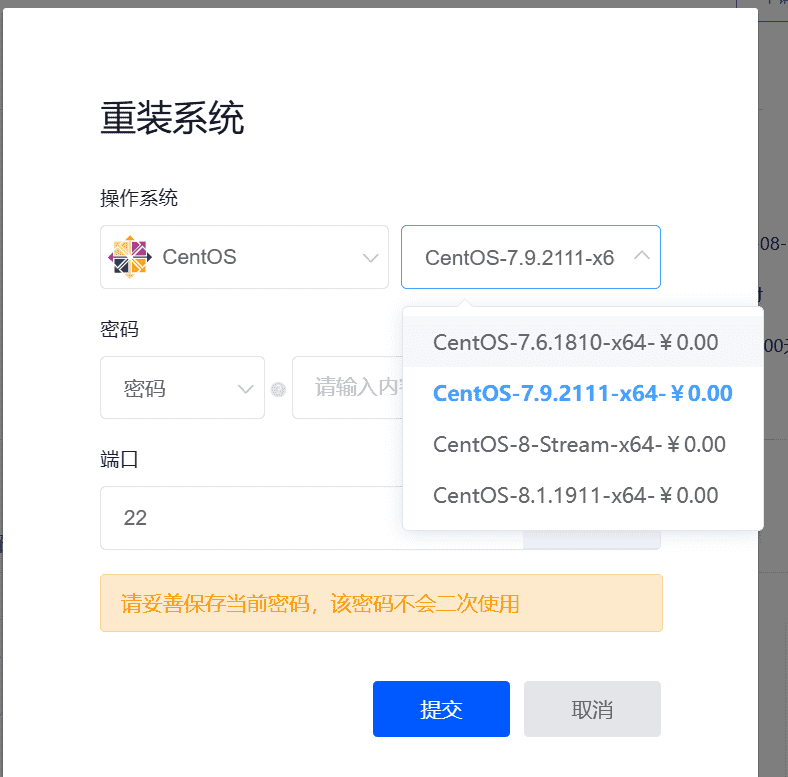
| IPV4+IPV6都有的服务器(装CentOS系统) | 推荐商家:腾讯云 |
| SSH工具 | 手机下载:JuiceSSH电脑下载:FinalShell-等等的工具 |
| 脚本 | 良生网 edge浏览器 |
| 智商 | 自带 |
部署Squid
- 咱们打开FinalShell 进入IPV4+IPV6都有的服务器 然后按以下命令输入一次回车一次
sudo yum update -y#更新系统软件包
sudo yum install squid -y#安装Squid
sudo systemctl start squidsudo systemctl enable squid启动Squid并设置开机自启
- 然后等待安装完毕进入以下目录 编辑以下代码有注释自己改尤其是:acl allowed_ip1 src 输入你的IPV6 这一行代码必须改!!!!!!!!!!!!!!!!!!!!
![图片[1]-IPV6windows服务器使用Squid访问IPV4网页-良生网](https://cdn.zlsgw.com/lswwp/2024/08/20240820155818570-image.png)
![图片[2]-IPV6windows服务器使用Squid访问IPV4网页-良生网](https://cdn.zlsgw.com/lswwp/2024/08/20240820155407601-image.png)
- 以下文件可以直接复制粘贴然后按要求改
#
# Recommended minimum configuration:
#

# Example rule allowing access from your local networks.
# Adapt to list your (internal) IP networks from where browsing should be allowed
acl localnet src 10.0.0.0/8    # RFC1918 possible internal network
acl localnet src 172.16.0.0/12    # RFC1918 possible internal network
acl localnet src 192.168.0.0/16    # RFC1918 possible internal network
acl localnet src fc00::/7       # RFC 4193 local private network range
acl localnet src fe80::/10      # RFC 4291 link-local (directly plugged) machines

# New rules to allow specific IPv6 addresses
acl allowed_ip1 src 输入你的IPV6

acl SSL_ports port 443
acl Safe_ports port 80        # http
acl Safe_ports port 21        # ftp
acl Safe_ports port 443        # https
acl Safe_ports port 210        # wais
acl Safe_ports port 1025-65535    # unregistered ports
acl Safe_ports port 280        # http-mgmt
acl Safe_ports port 488        # gss-http
acl Safe_ports port 591        # filemaker
acl Safe_ports port 777        # multiling http
acl CONNECT method CONNECT

#
# Recommended minimum Access Permission configuration:
#
# Deny requests to certain unsafe ports
http_access deny !Safe_ports

# Deny CONNECT to other than secure SSL ports
http_access deny CONNECT !SSL_ports

# Only allow cachemgr access from localhost
http_access allow localhost manager
http_access deny manager

# We strongly recommend the following be uncommented to protect innocent
# web applications running on the proxy server who think the only
# one who can access services on "localhost" is a local user
#http_access deny to_localhost

#
# INSERT YOUR OWN RULE(S) HERE TO ALLOW ACCESS FROM YOUR CLIENTS
#

# Example rule allowing access from your local networks.
# Adapt localnet in the ACL section to list your (internal) IP networks
# from where browsing should be allowed
http_access allow localnet
http_access allow localhost

# Allow access from the specific IPv6 addresses
http_access allow allowed_ip1

# And finally deny all other access to this proxy
http_access deny all

# Squid normally listens to port 3128
http_port 3128

# Uncomment and adjust the following to add a disk cache directory.
#cache_dir ufs /var/spool/squid 100 16 256

# Leave coredumps in the first cache dir
coredump_dir /var/spool/squid

#
# Add any of your own refresh_pattern entries above these.
#
refresh_pattern ^ftp:        1440    20%    10080
refresh_pattern -i (/cgi-bin/|\?) 0    0%    0
refresh_pattern . 0 20% 4320- 如果你ipv6服务器不止一个ipv6那就按照以下来
第14行 acl allowed_ip1 src 你的ipv6
      acl allowed_ip2 src 你的ipv6
      以此推类
      acl allowed_ip按照123456789 src 你的ipv6
第55行左右
      http_access allow allowed_ip1
      http_access allow allowed_ip2
      以此推类
http_access allow allowed_ip按照123456789- 改完后保存 保存 保存 然后输入以下指令
sudo systemctl restart squid- 检查状态
sudo systemctl status squid看到Active: active (running) 就成功了
提醒一下端口必须开服务器在哪买的就去哪里开 以下是宝塔示例
![图片[3]-IPV6windows服务器使用Squid访问IPV4网页-良生网](https://cdn.zlsgw.com/lswwp/2024/08/20240820160322661-image.png)
tcp 的出和入方向放3128端口
SSH命令放是
sudo firewall-cmd --permanent --add-port=3128/tcp
sudo firewall-cmd --reload
不知道端口是不是通的去 网站端口扫描 输入ip和端口点击开始扫描 显示开启就可以了如果关闭哪里买的服务器问哪里
- 查看Squid的访问日志和错误日志:
访问日志:/var/log/squid/access.log
错误日志:/var/log/squid/cache.log
- Squid部署成功然后我们需要复制的东西
[你的IPV6]和端口
ipv6外面一定要用[]包裹如
[2a01:4f8:c2c:123f::1]
配置windows
- 用FinalShell打开你的IPV6windows
![图片[4]-IPV6windows服务器使用Squid访问IPV4网页-良生网](https://cdn.zlsgw.com/lswwp/2024/08/20240820161215236-image.png)
![图片[5]-IPV6windows服务器使用Squid访问IPV4网页-良生网](https://cdn.zlsgw.com/lswwp/2024/08/20240820161303356-image.png)
![图片[6]-IPV6windows服务器使用Squid访问IPV4网页-良生网](https://cdn.zlsgw.com/lswwp/2024/08/20240820161332498-image.png)
![图片[7]-IPV6windows服务器使用Squid访问IPV4网页-良生网](https://cdn.zlsgw.com/lswwp/2024/08/20240820161440570-image.png)
一直点确定和应用即可
然后去浏览器输入
https://my-ip.cc/zh-hans/![图片[8]-IPV6windows服务器使用Squid访问IPV4网页-良生网](https://cdn.zlsgw.com/lswwp/2024/08/20240820161620821-fc92e2ad347fdb921fca4001c19cdd6e.png)
项目结束
![图片[9]-IPV6windows服务器使用Squid访问IPV4网页-良生网](https://cdn.zlsgw.com/lswwp/2024/08/20240820161958747-b9ab4cc2e7fa46c09ba53d39f1b89bb6.jpg)
在结束这段教程之际,希望您已经成功地在Windows服务器上配置了Squid代理,实现了IPv6网络访问IPv4网页的功能。请您在实际应用中不断探索和优化,以充分发挥Squid代理的优势。在此,祝您网络顺畅,工作顺利,生活愉快!如有任何疑问,欢迎随时评论。再次感谢您对良生网的支持!

感谢您的来访,获取更多精彩文章请收藏本站。

© 版权声明
THE END


暂无评论内容